 Redline
Cable labels and appearance
Use Summary: Edges to adjust how connections read on the drawing or record their installed lengths. These choices are separate from Summary: Edge.
Label placement: start with an automatic pass
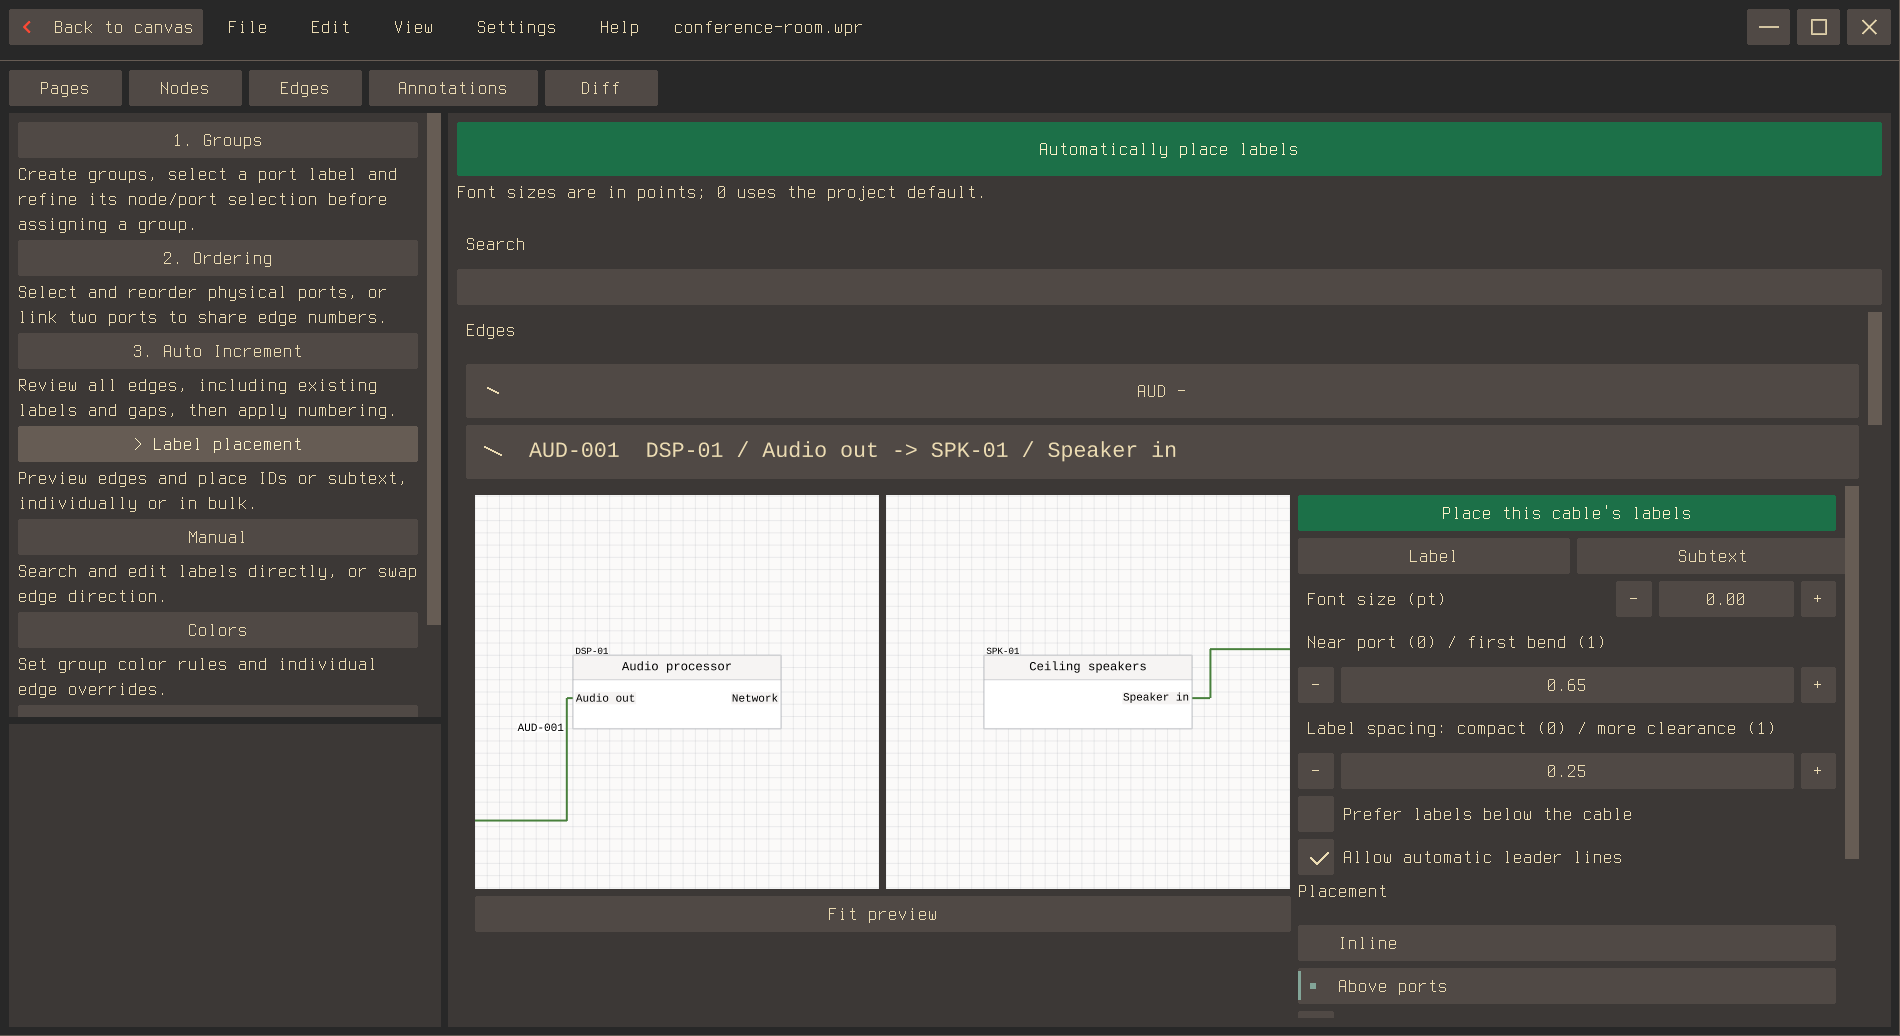
Open Label placement and use Automatically place labels to place visible cable labels and subtext across the project. Hidden labels stay hidden. Placement is a saved, undoable edit; it does not assign numbers.
Search by cable ID or endpoint, then expand a connection to see both endpoint previews. Zoom with the wheel, pan with a right-button drag, or use Fit preview. Moving a preview does not move the drawing.
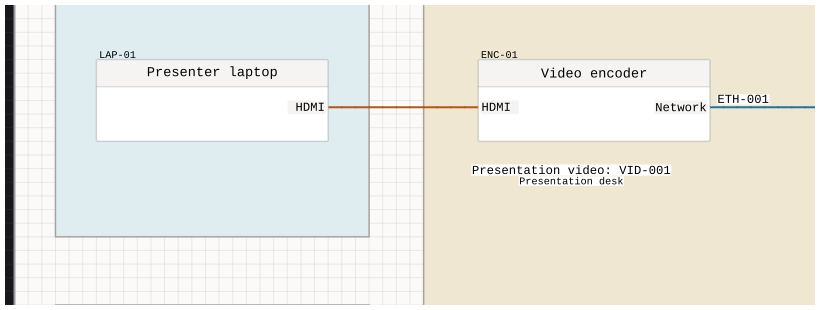
For one cable, adjust its placement preferences and run Place this cable's labels, or use the Label controls to choose where the text appears and shift it from the route. A leader can connect displaced text back to its anchor. Subtext normally follows the cable ID; Independent placement lets it have its own position.
Flagged connections show controls for their text templates and remote endpoint information. See Flags on edges for flags.
Colors
In Colors, set a group rule or override an individual cable's color. Group rules also apply to future matching connections; the last matching rule wins. An individual cable's color takes precedence.
Physical cable lengths
In Edge lengths, enter a measurement and its unit for one cable, a selection, a device, or a device group. These are installation measurements, not distances along drawn lines. Leave the value blank or enter 0 to clear a measurement.
Recorded lengths appear in Generated project tables cable schedules.